
From whole roasters to bone broth, this is how we process our birds with intention.
If you don’t raise your own meat birds, you can still do this. Whole chickens are almost always more affordable than buying individual cuts. If you have access to a local poultry processor, ask when they have fresh whole chickens available and pick up a few to work through yourself. Using the whole bird—rather than purchasing breasts, thighs, and wings separately—can save a surprising amount of money.
This post pairs with a short video showing how I piece a chicken from start to finish.
When we process chickens, we’re not trying to be fancy or impressive. We’re trying to be practical. Our goal is to feed our family well, use every part of the bird, and make future meals easier—not harder.
Over time, this rhythm has become second nature. We don’t process everything the same way. Each bird has a purpose, and deciding that ahead of time makes the whole day run smoother.
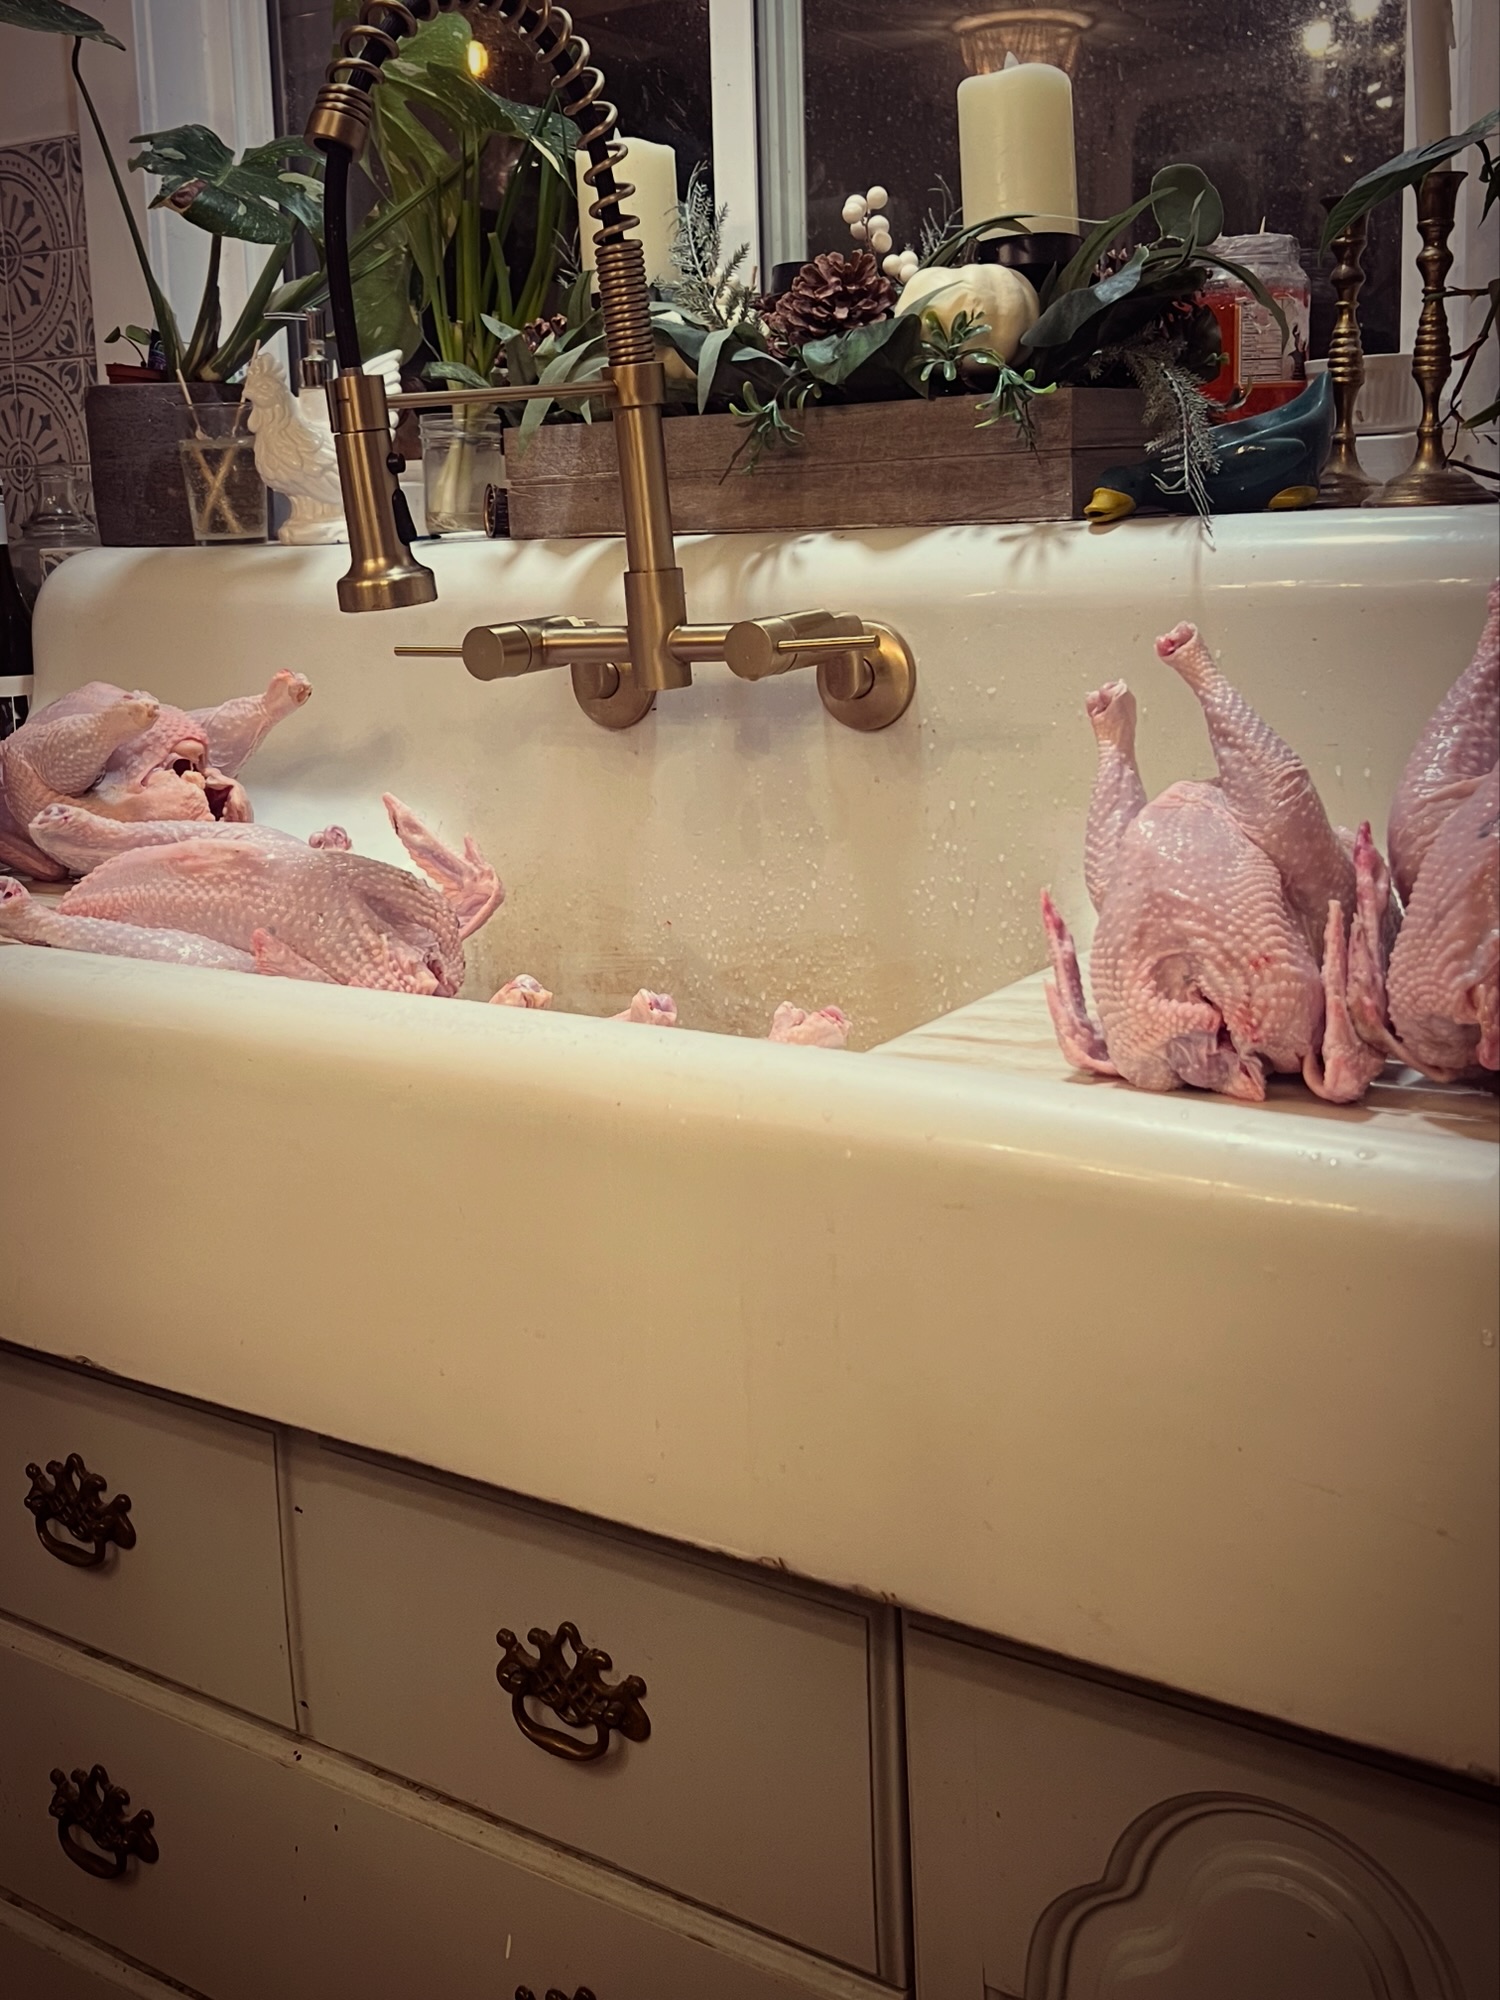
Deciding What Stays Whole
We keep some birds whole—usually the larger roasters. These are set aside for big family meals: oven-roasted chickens, Sabbath dinners, or days when everyone’s home and hungry.
The very small birds get their own category. I set those aside specifically for quick soup nights. They’re the perfect size to pop straight into the Instant Pot on a whim and have chicken soup on the table without any extra prep.
That leaves a middle group—usually 12 to 16 birds—that I piece out completely.
Piecing Chickens (Faster Than You’d Think)
I may not be highly skilled in a lot of things—but this is one skill I’ve built over time. I can piece out a chicken in about five minutes.
That didn’t happen overnight. But once you get comfortable with the anatomy and stop overthinking it, it becomes incredibly efficient—and very worth learning.
Here’s how we use the pieces
- Wings: I split them into two pieces and save all of them for family wing nights. We eat a lot of wings, so these never last long.
- Breasts: Packaged either singly or in pairs so they’re easy to grab.
- Drumsticks: Perfect for barbecue meals or simple baked dinners.
- Thighs: Skinless and boneless, ready for chicken burgers or other easy recipes.
A Note on Brined Chicken Breasts
I like to set aside a few breasts specifically for brining. These become ready-to-use lunch meat.
My simple brine includes:
- Water
- Salt
- A little sugar
- Paprika
- Onion salt
I let the breasts brine for about two hours, then bake them, cool them, and pop them into the freezer. Having pre-cooked, well-seasoned chicken ready to go makes lunches incredibly easy.
Dogs, Bones, and Respectful Use
Some pieces go directly to the dogs as raw food. Raw bones are safe for them, and it’s another way we make sure nothing is wasted.
The remaining carcasses go straight into the pot for bone broth.
How I Make Bone Broth
I use a very large stock pot and fit all the carcasses inside. Sometimes it takes a bit for them to cook down enough to fully settle, but that’s fine.
I cover everything with water and add:
- Salt and onion salt
- Sage
- Turmeric
- A small amount of sugar
- Whatever vegetables I have on hand
I season fairly generously, because I use this broth as a replacement for bouillon. With store-bought bouillon becoming expensive—and sometimes hard to find—this has become an essential part of our kitchen.
The broth simmers on very low heat for 24 hours, and sometimes up to 48 hours. I keep it covered—we’re extracting nutrients, not boiling it down yet.
Finishing the Broth
Once the broth has finished simmering, I strain it completely first, removing all bones, bits, and fatty pieces. The bones are fully spent at this point and are discarded.
From there, you have options:
- You can return some of the vegetables and small pieces of meat back to the strained broth and use an immersion blender for a thicker, heartier finish
- Or you can keep it fully strained for a clear, traditional broth
I like to reduce mine to a two-times concentrate. It saves space and gives me flexibility. I always taste and adjust seasoning before jarring.
I pour the hot broth into clean jars, put the lids on right away, and let them seal as they cool. Once cooled, they go into the fridge. Unopened jars last a long time; once opened, I aim to use them within about a week.
Freezer Storage, Scale, and Rhythm
This whole process is what we typically do with around 30 birds at a time. That rhythm works well for our large family and allows us to share as well.
That said, this method absolutely works at a smaller scale. You could do this with six chickens, or a dozen—whatever fits your household.
All chicken pieces are vacuum sealed before freezing. There are many storage options; this is simply what works best for us.
This processing cycle usually feeds our family for about six months, and we repeat it twice a year. It’s become one of the rhythms on the farm we have done since we first moved here almost 4 years ago.
There’s something deeply satisfying about knowing exactly where your food came from, how it was handled, and that every part was honoured.
Leave a Reply